
Steps of a DIY Chalkboard
DIY chalkboards are fun, versatile additions to any home or workspace. They offer endless possibilities for creative expression and organization.
In your home, you can use a DIY chalkboard in the kitchen to jot down grocery lists, meal plans, or daily menus. Keep track of home projects with a DIY chalkboard in your garage.
In the living room, it can serve as a decorative and functional piece, perfect for inspirational messages or artwork. Children's bedrooms become dynamic play and learning spaces with chalkboards for drawing and homework. In an office, a chalkboard can be a practical tool for brainstorming, task lists, or project management.
A DIY chalkboard can provide an artistic outlet, allowing you to express your creativity through doodles, drawings, or inspirational messages, making it a decorative and personalized element in your space.
Beyond the home, DIY chalkboards find utility in classrooms for teaching, in restaurants for menu specials, in cafés for announcements, and at events for signage and photo booths. Their adaptability and charm make DIY chalkboards a delightful addition to various settings, enhancing both functionality and aesthetic appeal.
Tailoring Your DIY Chalkboard
Creating your chalkboard allows you to tailor it to your needs and preferences. You can choose the size, shape, and style that best complements your existing decor, ensuring a seamless integration into your home or workspace. It's also a budget-friendly project, as you can repurpose materials or use affordable supplies to create a polished finished product that would cost significantly more if purchased pre-made.
A DIY chalkboard is an eco-friendly choice, as it reduces the need for disposable paper or sticky notes, contributing to a more sustainable and eco-conscious lifestyle. It is a practical, creative, customizable, and environmentally responsible choice that can enhance your productivity and living space.
Creating Your DIY Chalkboard
Are you ready to learn the step-by-step process of making your very own chalkboard?
Following these instructions, you can transform any wall into a versatile chalkboard perfect for jotting down notes, artwork, or even your daily to-do list.
Step 1: Measure and Plan
Before diving into the project, measuring the area you intend to frame for your chalkboard is crucial. Decide on the size and location of your chalkboard to ensure it fits your space perfectly. Take your time to visualize the final look to guarantee satisfaction with the end result.
Step 2: Cut the Boards for Framing
Once you've determined the size and placement of your chalkboard, it's time to cut the framing boards. Choose wood boards of your preferred type and thickness, and use a saw to cut them to the required lengths carefully. These boards will form the frame around your chalkboard.
Step 3: Select and Paint the Frame
Select the paint colors for your frame that match your decor or personal style. Apply a smooth and even coat of paint to the frame boards. Allow the paint to dry completely before moving on to the next steps.
Step 4: Fill Wall Holes and Sand
Before attaching the chalkboard, ensure that the wall is in perfect condition. Fill any holes or imperfections with spackling compound or putty. Once the compound dries, use sandpaper to achieve a smooth and even texture on the wall's surface. This will ensure that your chalkboard adheres properly.
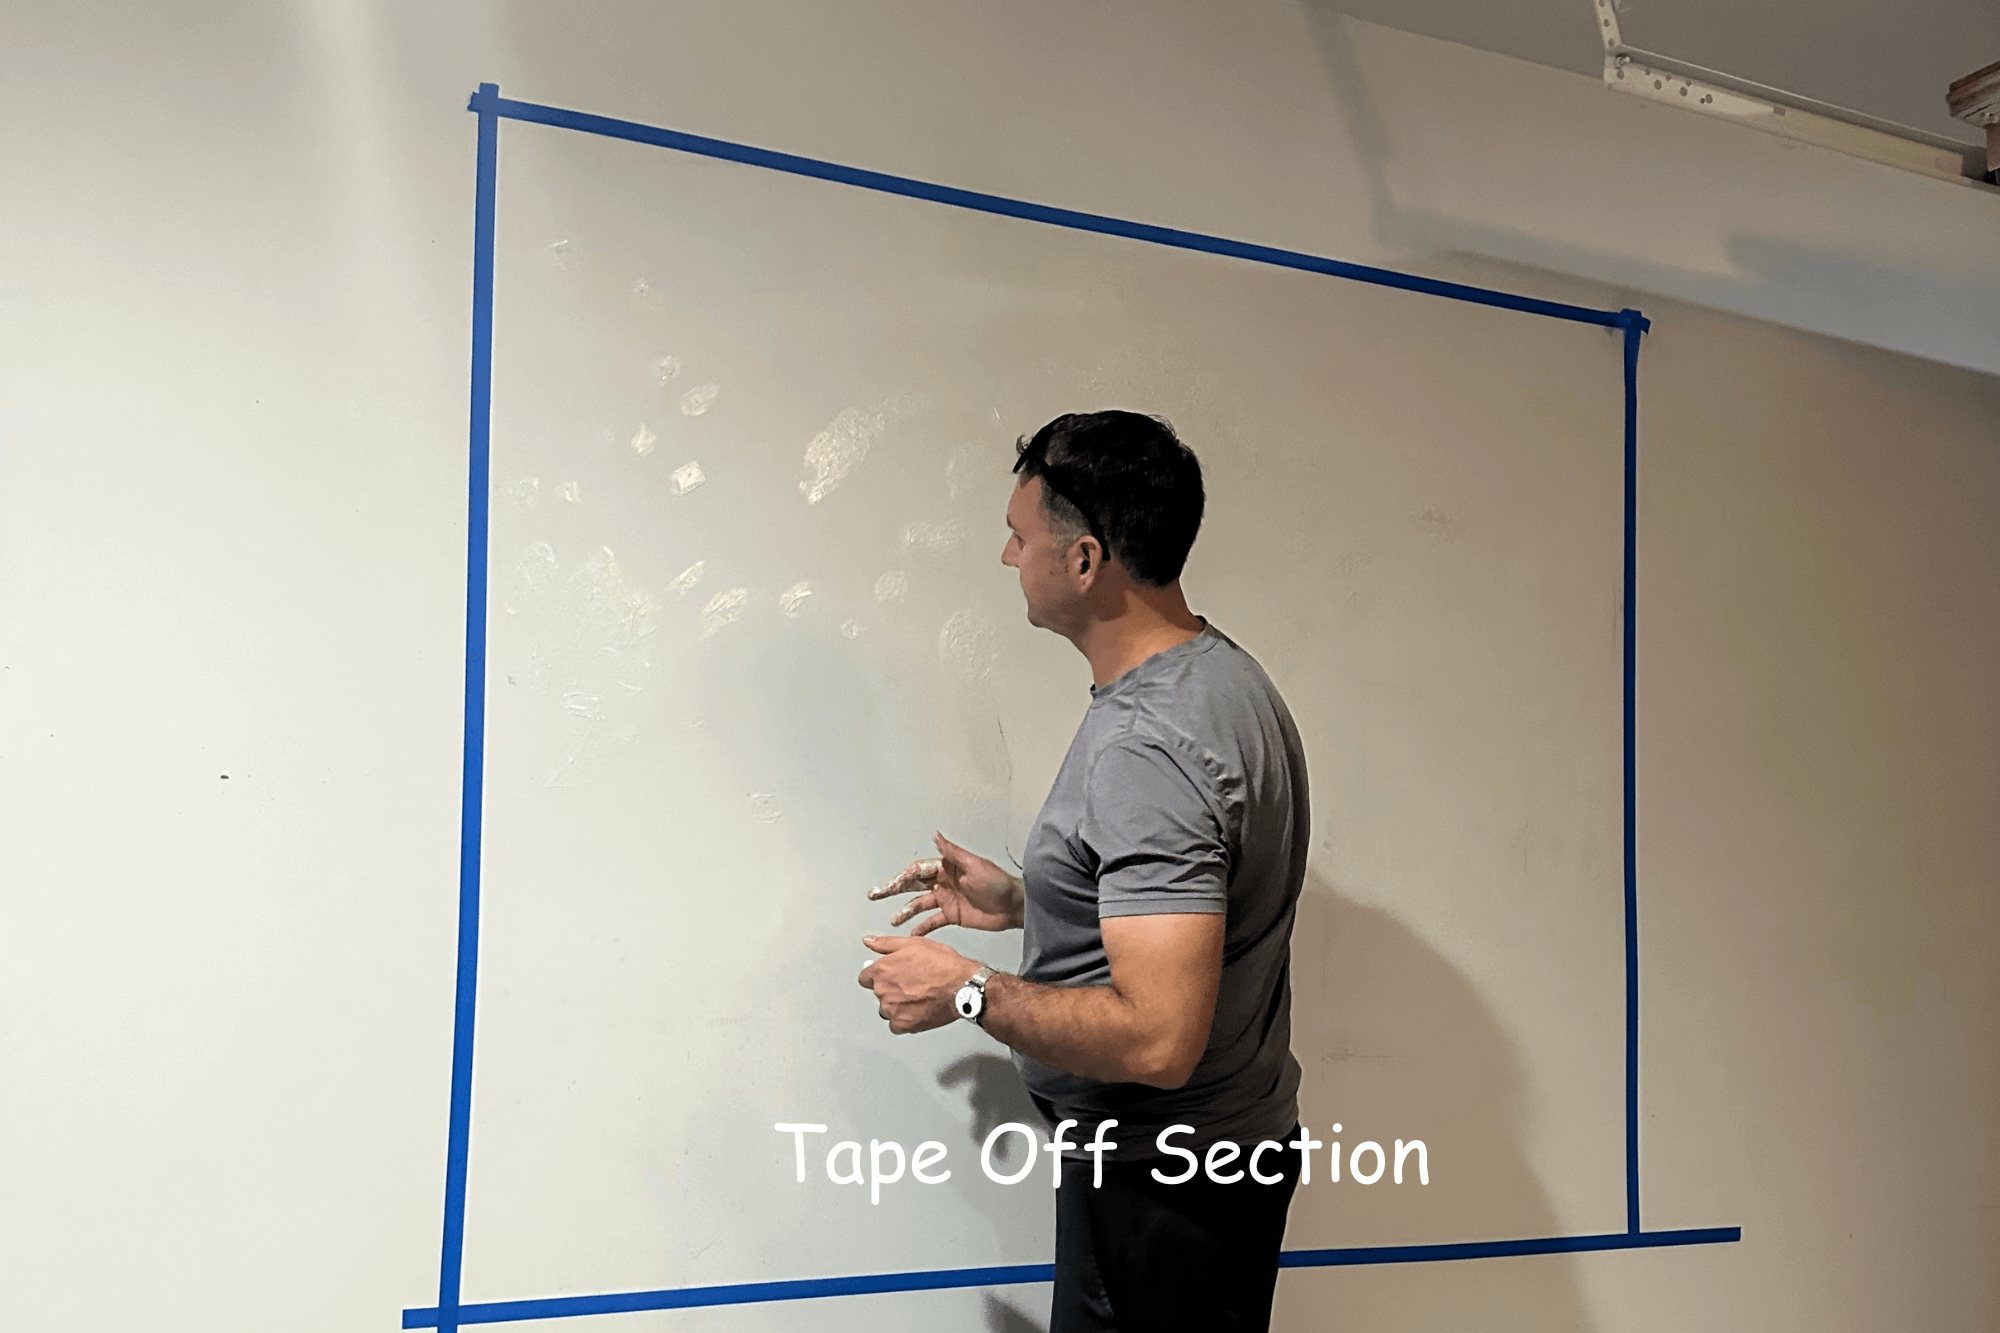
Step 5: Tape Off Section
To create a clean and defined area for your chalkboard, use painter's tape to outline the section you want to paint. This will help you achieve precise edges and a neat finish.
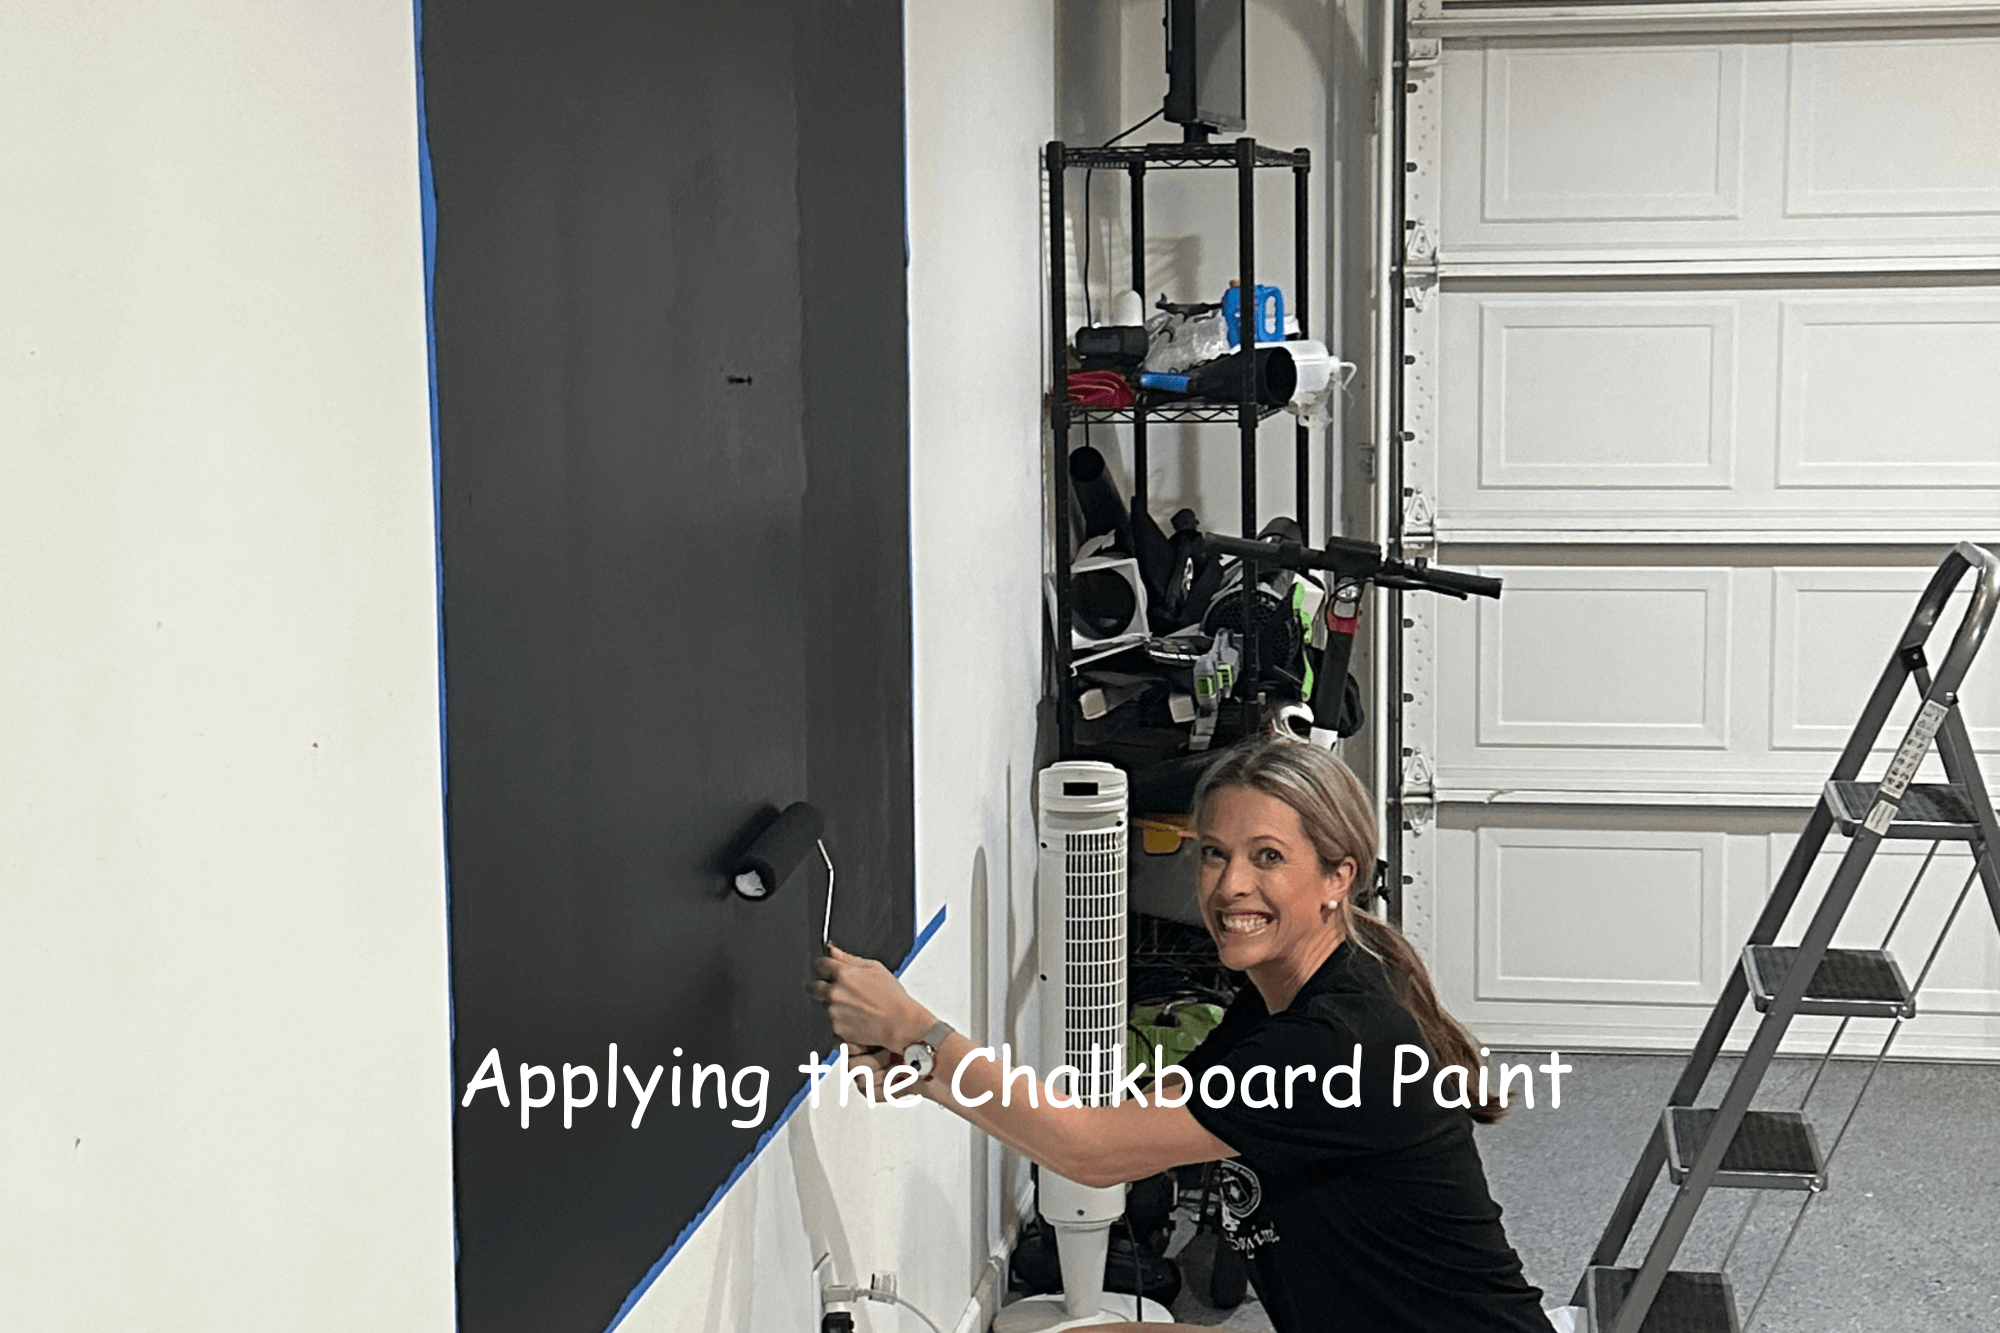
Step 6: Apply Chalkboard Paint
Now comes the exciting part—applying the chalkboard paint. Make sure to use chalkboard paint specifically designed for this purpose, as it's different from regular chalk paint. Apply the paint within the taped-off section on your wall, ensuring an even coat. Allow it to dry according to the manufacturer's instructions.
Step 7: Paint the Frame
While the first coat of chalkboard paint on the wall dries, take the opportunity to paint the frame boards. Apply multiple coats if necessary to achieve the desired finish. Allow the frame to dry thoroughly before moving on.
Step 8: Apply Additional Chalkboard Paint Coats
After the initial coat of chalkboard paint on the wall has dried, lightly sand it to ensure a smooth surface. Apply additional coats as needed to cover the wall fully. Typically, it will take around three coats to achieve optimal coverage and a smooth writing surface.
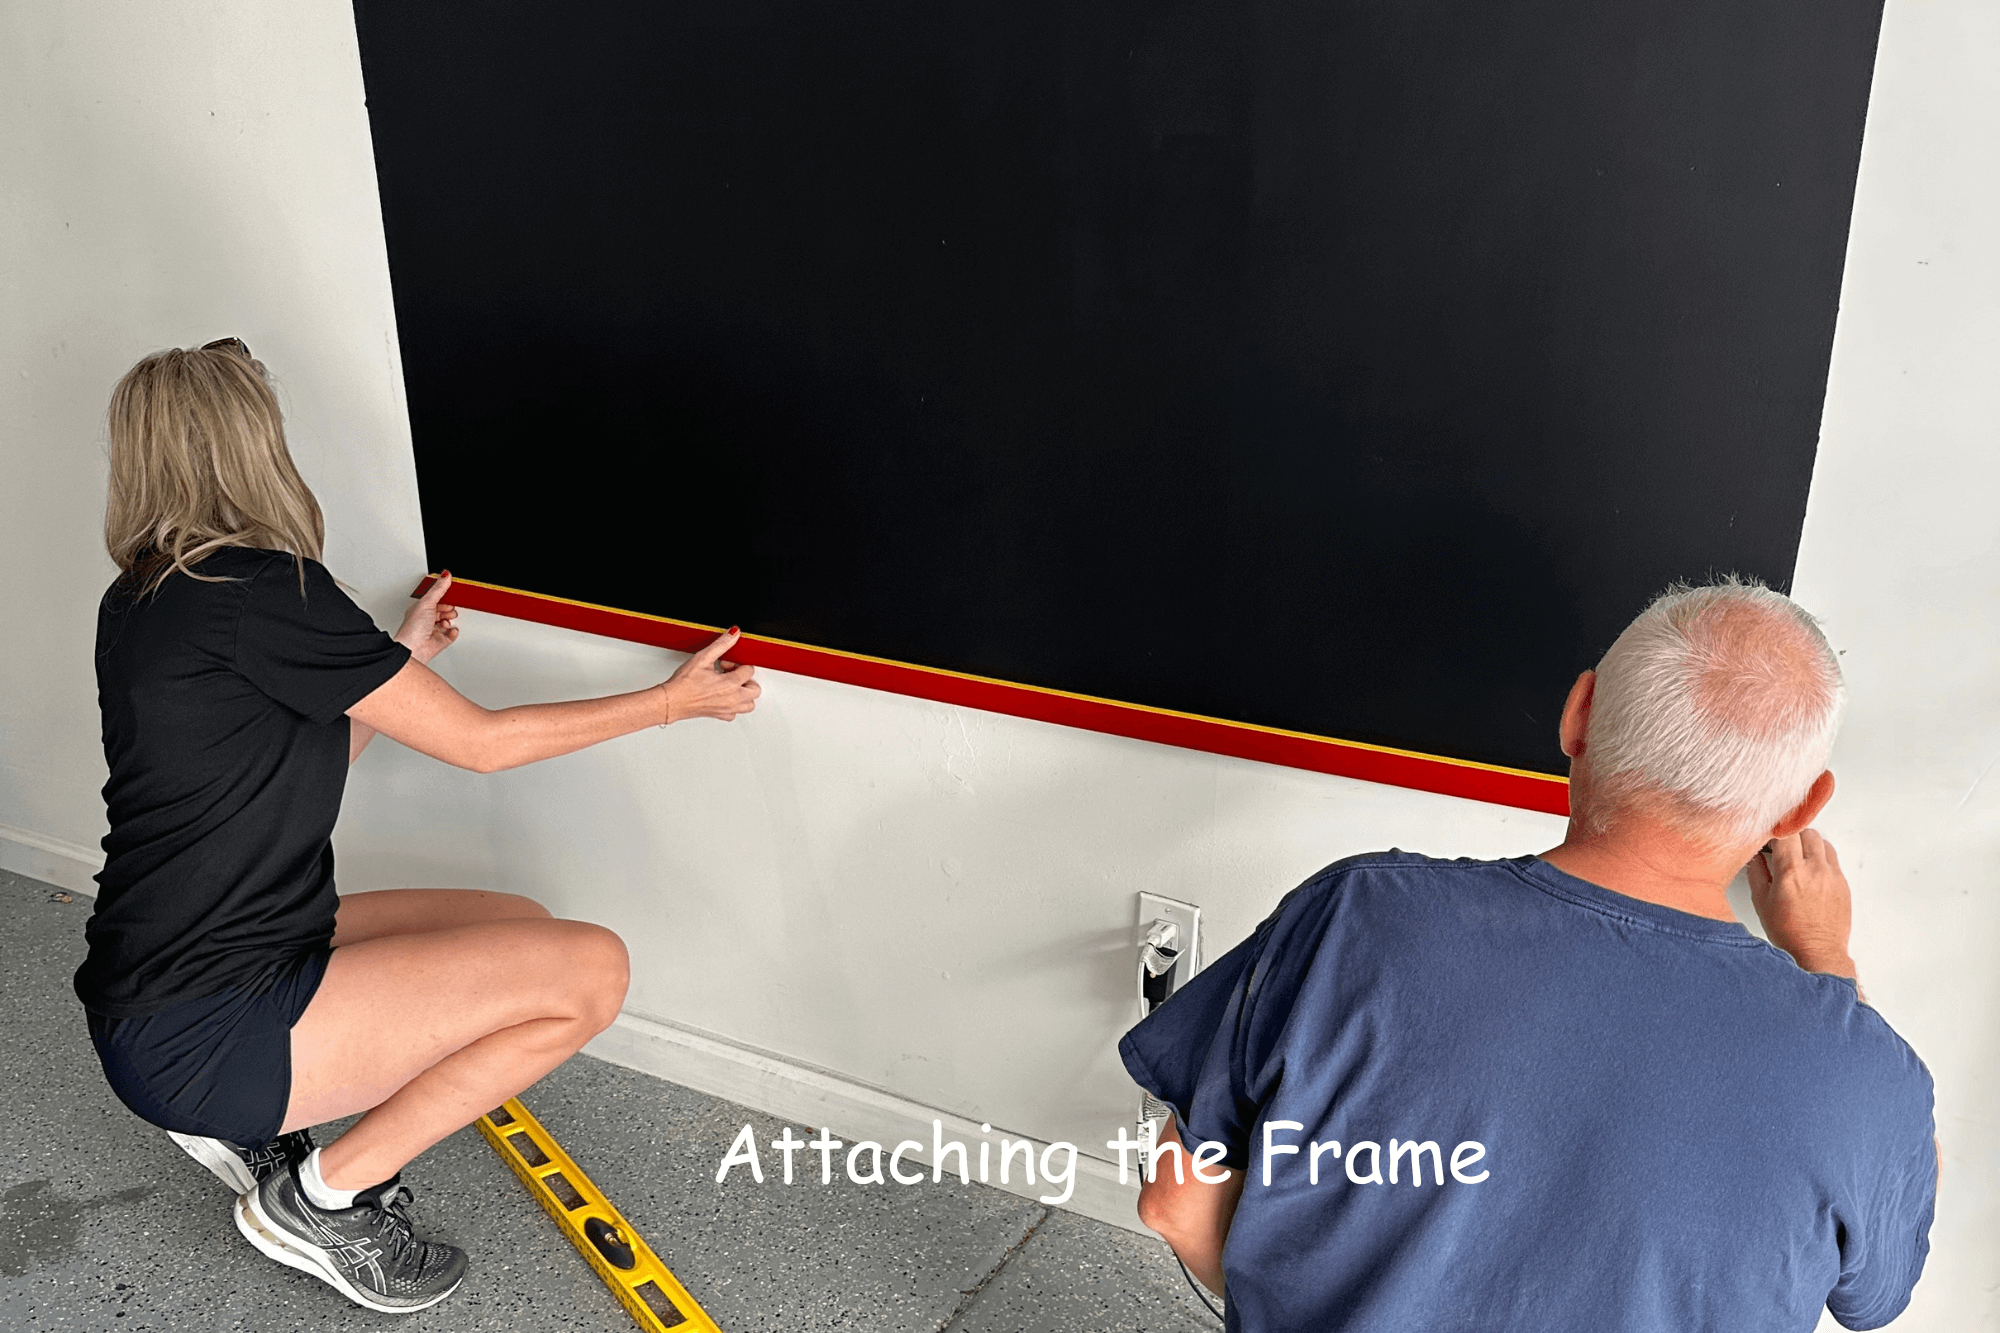
Step 9: Attach the Frame
Once both the wall and frame are completely dry, it's time to attach the frame to your chalkboard. Make sure it is level and securely fastened to the wall. This will provide a polished and finished look to your DIY chalkboard.
Step 10: Fill Frame Nail Holes and Paint
Fill any nail holes on the frame with caulk or wood filler. Once it dries, apply another coat of paint to the frame to ensure it matches the rest of the chalkboard's aesthetic.
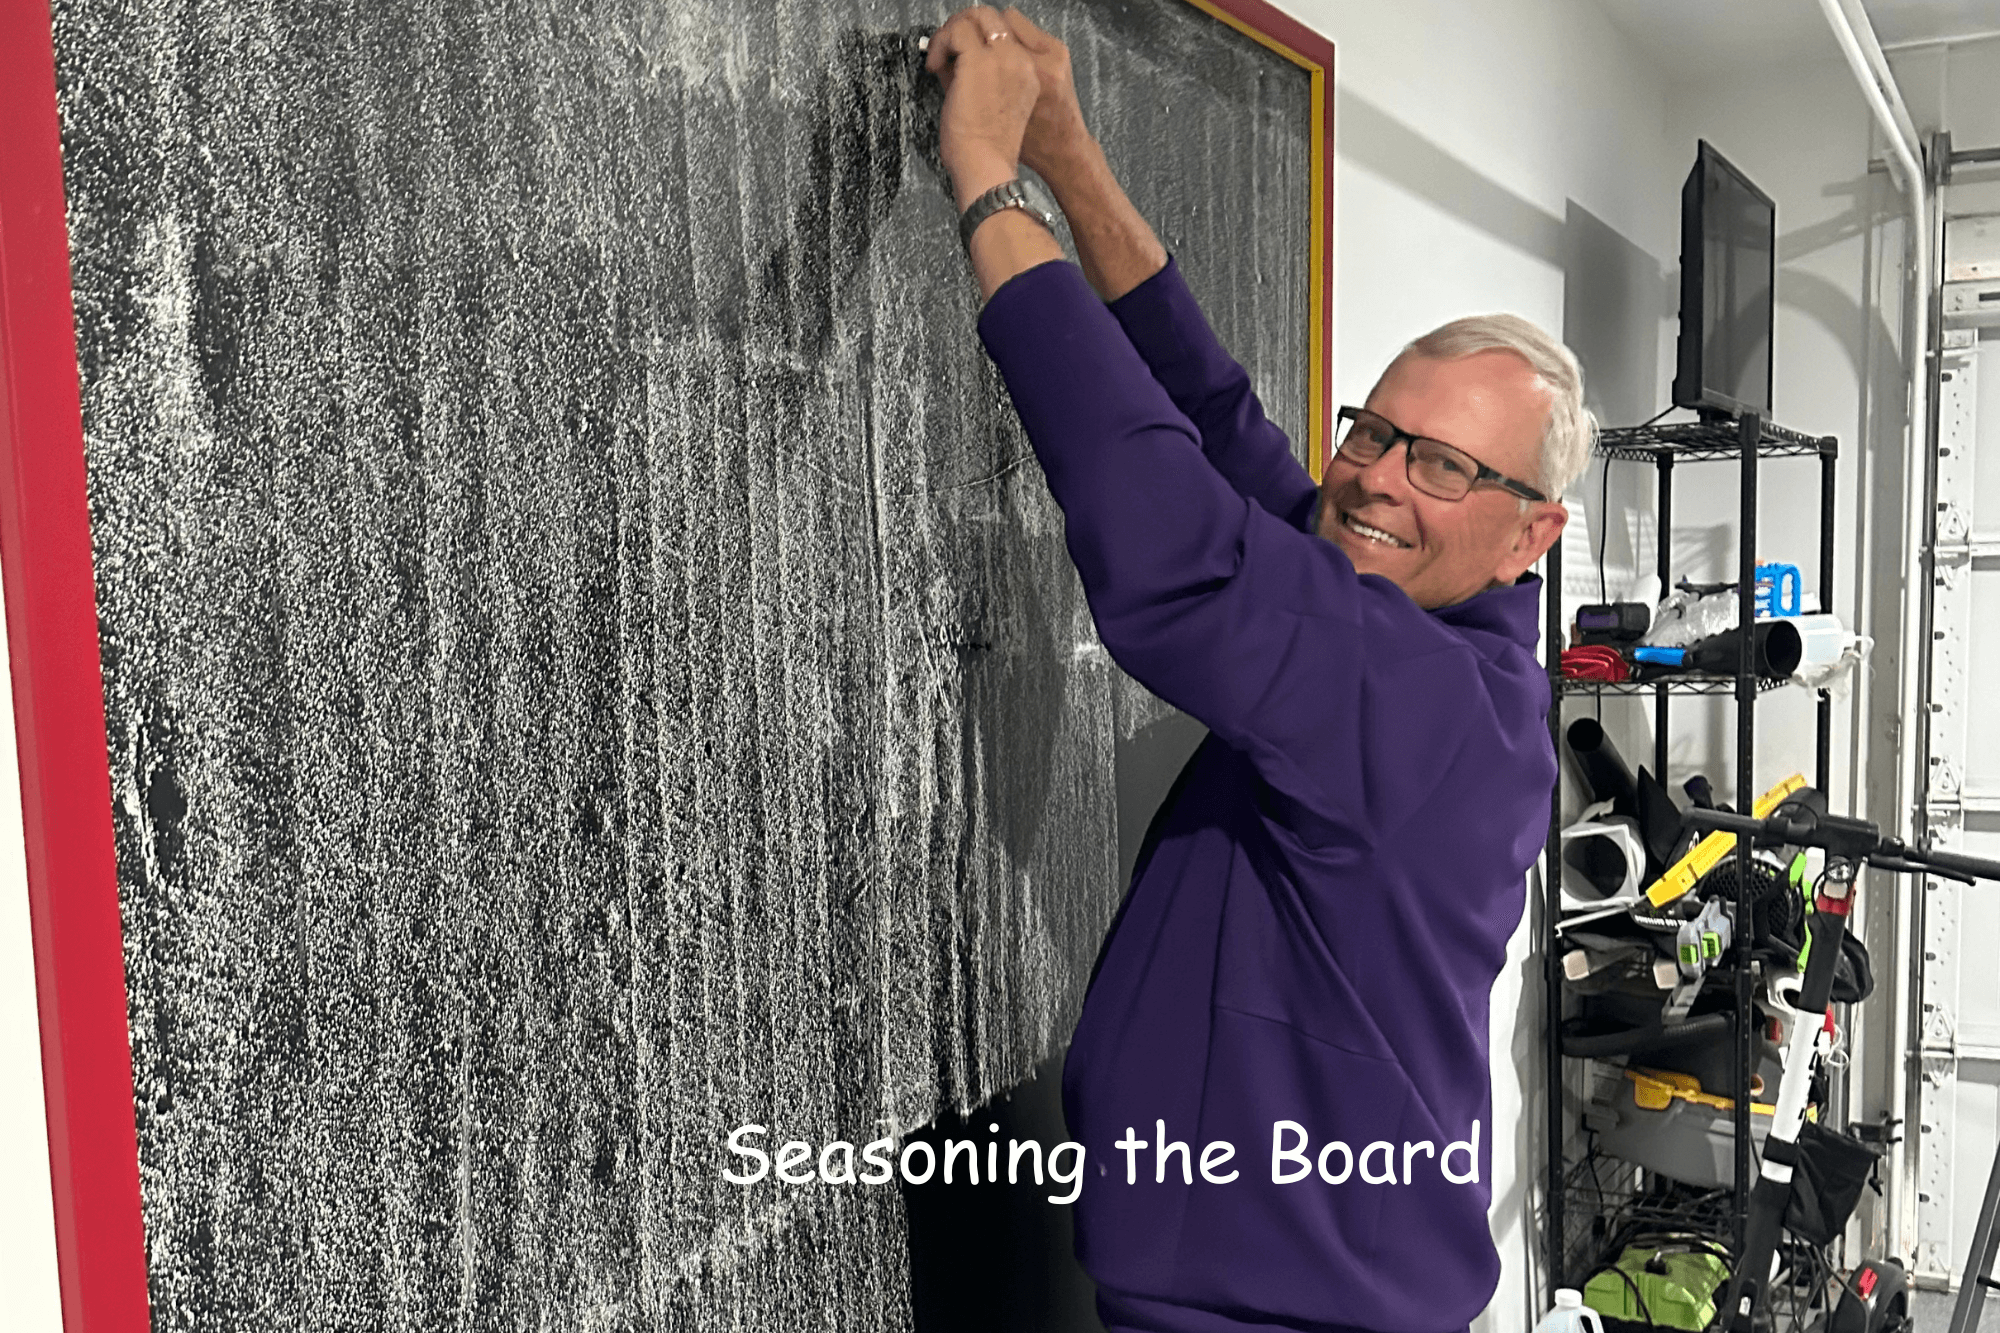
Step 11: Season the Chalkboard
Seasoning your chalkboard before use is essential. To do this, take a piece of chalk and run it along the long side, first horizontally and then vertically, covering the entire surface. Allow the seasoning to set for at least 24 hours.
Step 12: Wipe Off Chalk Seasoning
After the seasoning period, wipe off the chalk seasoning with a soft white cloth. This step is crucial for preventing ghosting or shadowing when you write on the chalkboard in the future.
Step 13: Enjoy Your DIY Chalkboard
Congratulations! You've successfully created your very own DIY chalkboard. Now you can enjoy the versatility of your personalized chalkboard, whether it's for daily notes, artwork, or a creative outlet. It's a fantastic addition to any space and showcases your craftsmanship and creativity.
If you live in the Phoenix metro area and want to learn more about DIY home projects or have questions about the real estate market, we would love to connect with you! Please reach out to Andrea Lilienfeld, owner and team leader of The Kay-Grant Group, at 480-387-3990 or fill out our contact form.